


One of the many great apps in Microsoft 365 is Microsoft From which help you to create a different type of forms and quizzes for personal and business use alike.
If you are already in Outlook or using Office 365 Business then you are great to go.
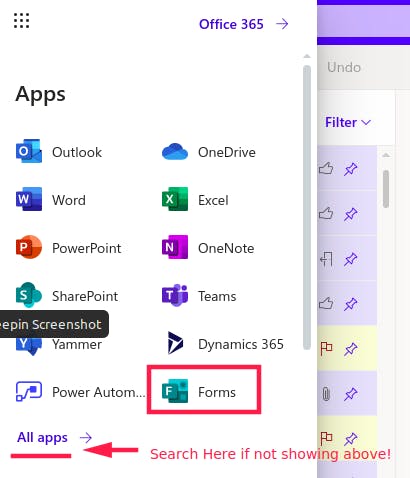
- From the side menu in Outlook you can easily log in to forms if not visible you can search in all apps option and click on the app icon.
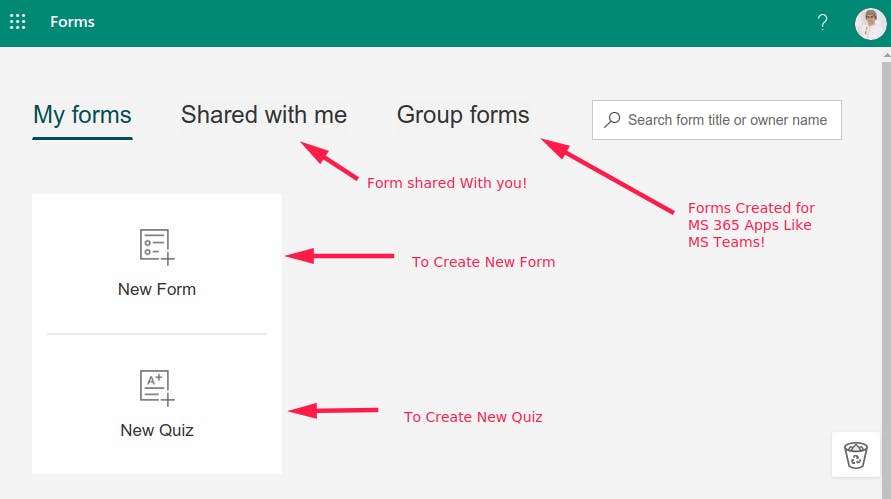
- Once you log in the Forms the main page you will have two options to create either a form or a quiz. Both are the same but in the quiz, you will have the ability to add point score! and in this tutorial, we will choose the quiz.
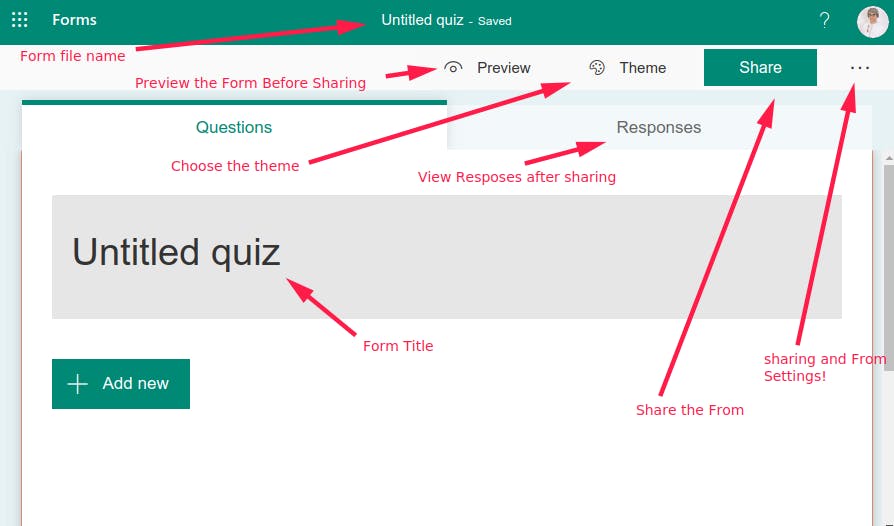
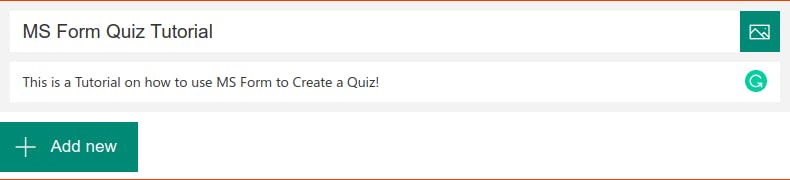
- This will be the main new form window were you can change the title and file name and look around for the themes and responses, settings, and sharing options.
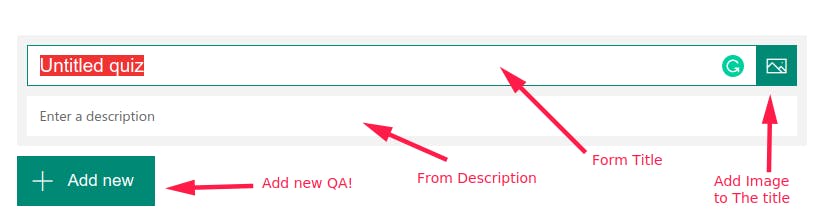
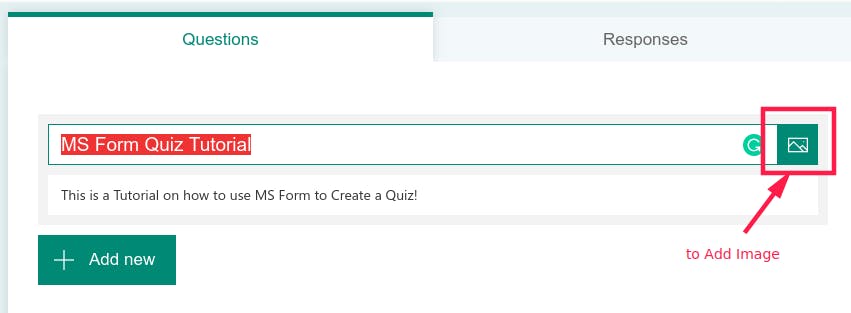
- When you click on the title frame you will be able to edit and change the title and the description and the ability to add a photo that we will check at the end of this tutorial.
- Edit the Title as you wish
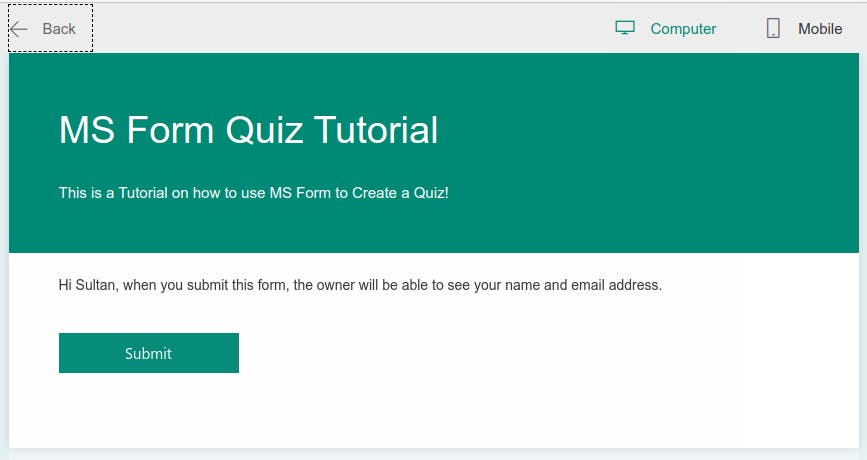
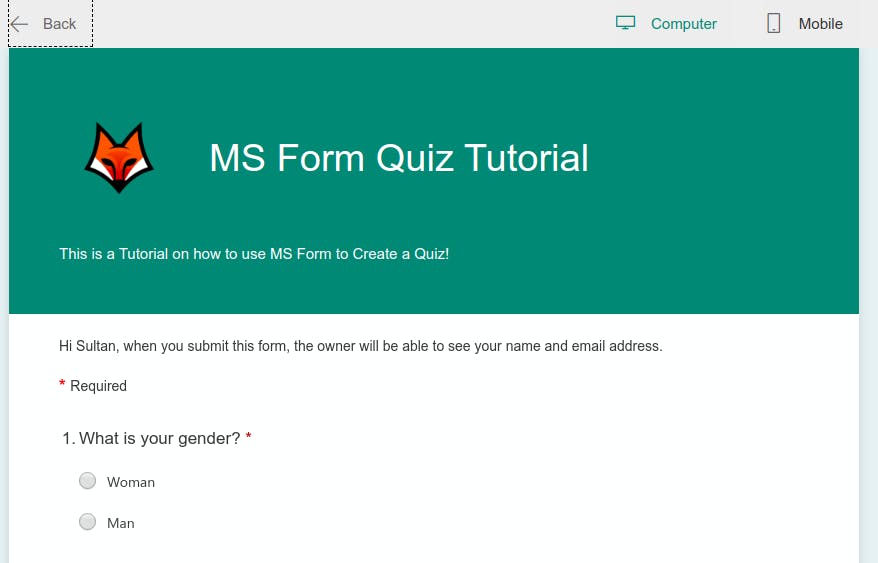
- Then click preview to check how it will look like for the person who will receive it from you.
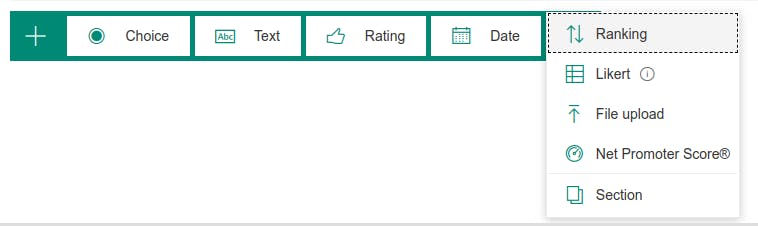
- Now we will start adding new Q in the quiz, once you click add new you will have all the types available for you to choose from, we will use a few of them in this tutorials. All the options settings are self-explanatory.
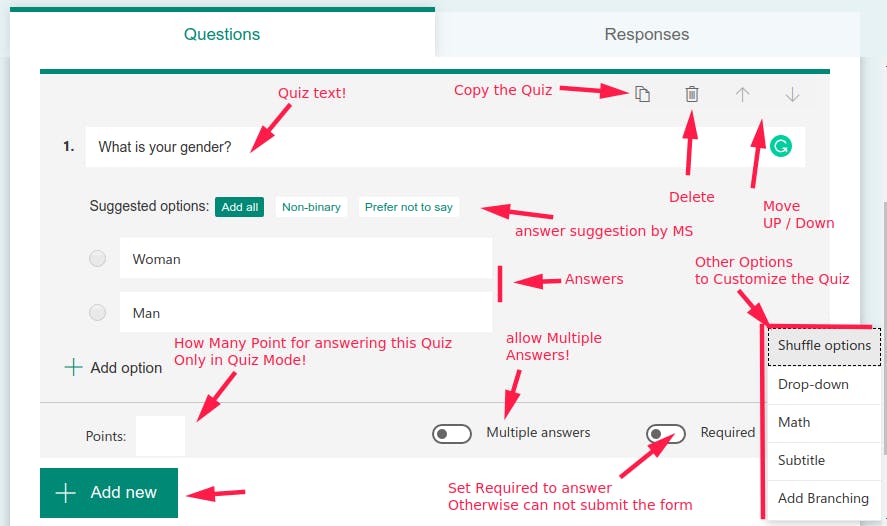
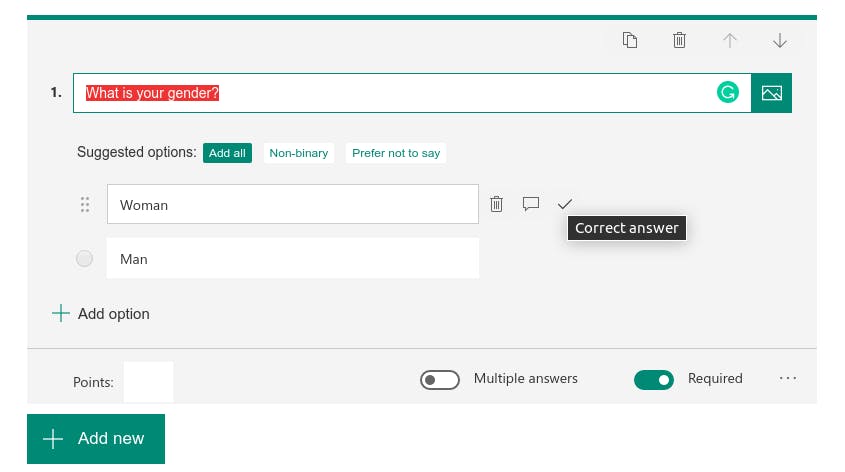
- We will start by adding the choice option and for the rest of the item, all options have the same settings as you can see here except for what is specific to the option.
- Then we will add the text option
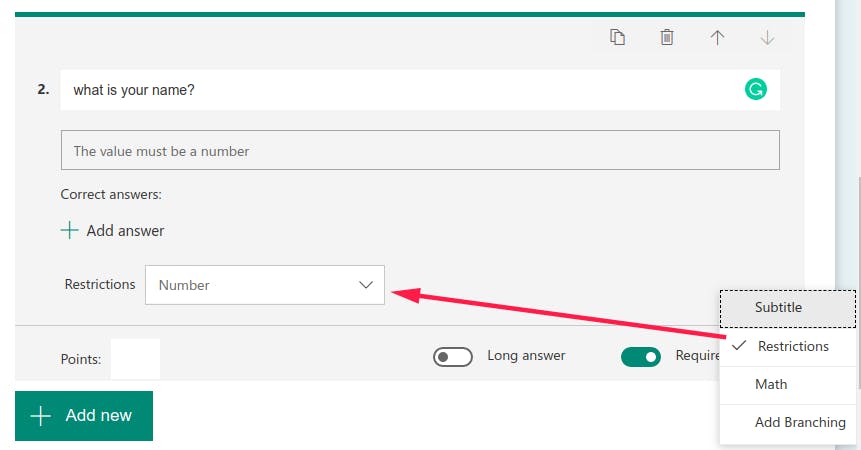
- You can set the correct answer and set the score points for each quiz. and a comment to show up for each answer.
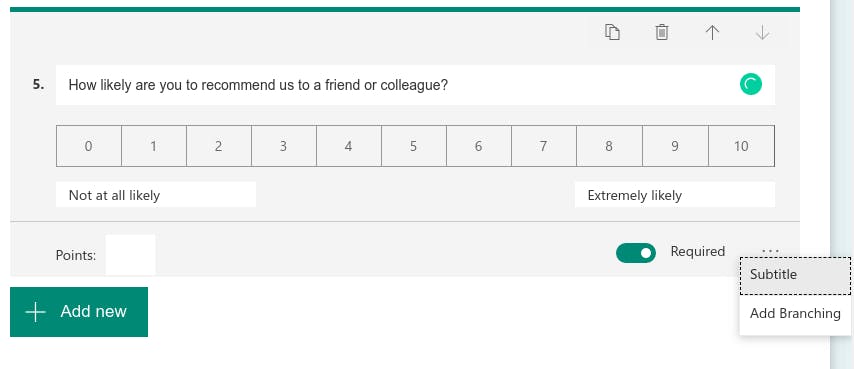
- And the rating option

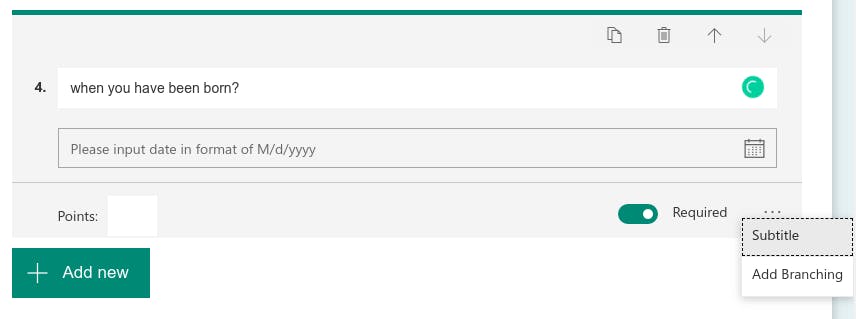
- Date Option
- Ranking Option like the one used in surveys like hotel surveys.
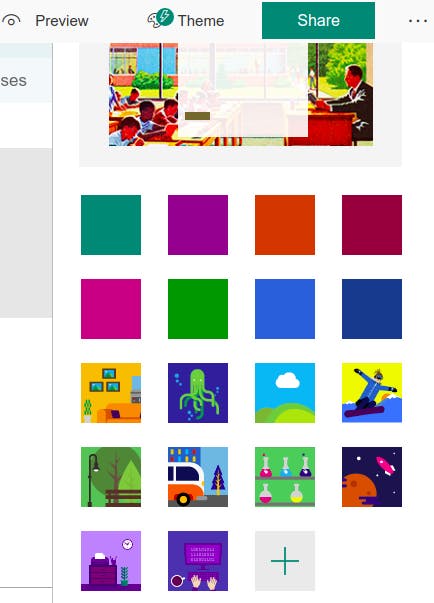
- Adding all your quiz parts, you will have to customize your theme and how your form will look like by going to the theme option and you can change the color and the background used.
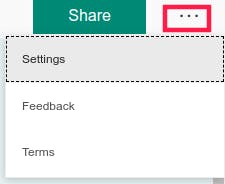
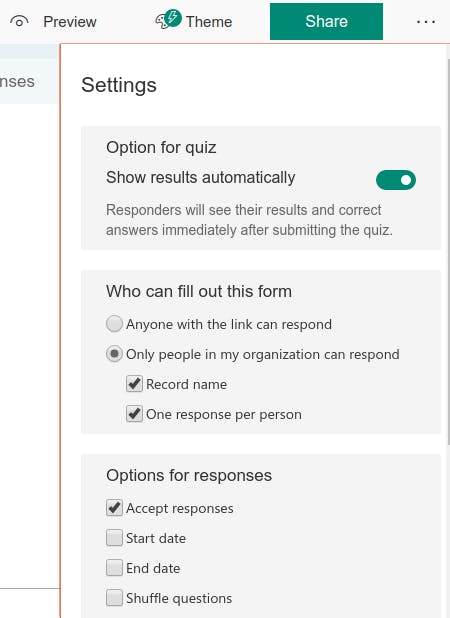
- Then you will have to go the settings to add more customization before final sharing, all the options are explained clearly on what it does mean and how to use it.
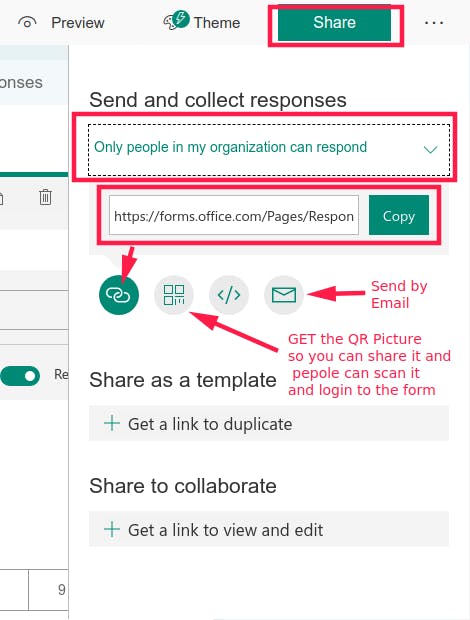
- you can decide who can respond to your form
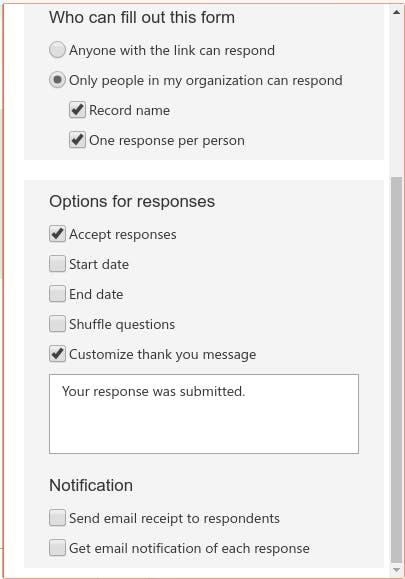
- and you can write a special response message and share an email after responding to you and to the person who responds.
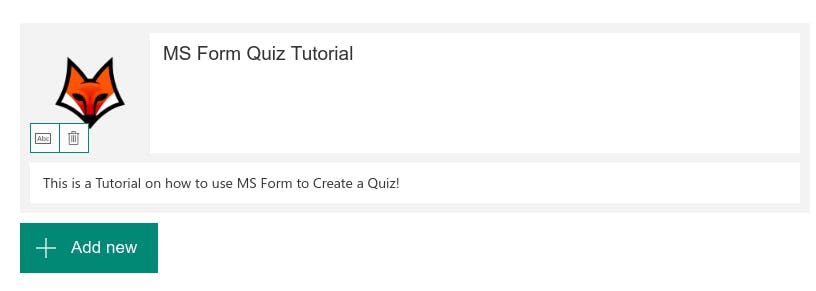
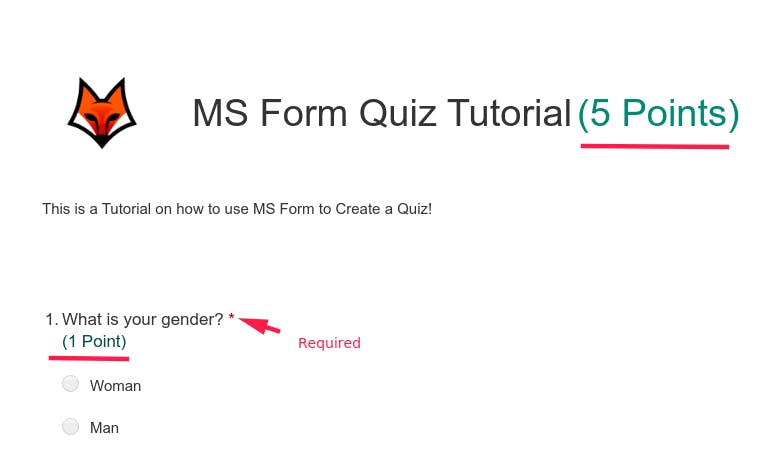
- and more customization by adding the photo or logo in the main title like this
- I have selected a small logo
- and this is how it looks like in preview mode
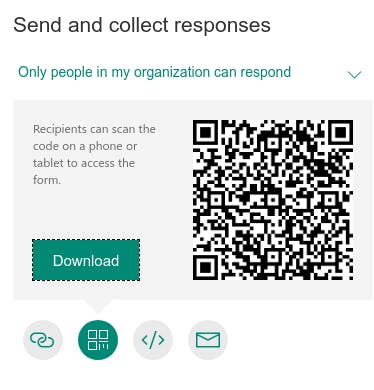
- To Share the form clicks on share and choose what and how and to whom you want to share. Get the direct link or share by outlook email or get the QR Code where they scan and get the link directly.
- Here is the QR code.
- As explained before you will have to adjust te points for each Quiz, Leave it empty or 0 for any quiz that will not be graded, and fill the total grade point for the quiz to be graded. Once you re done the total point for the quiz will be ready to show.
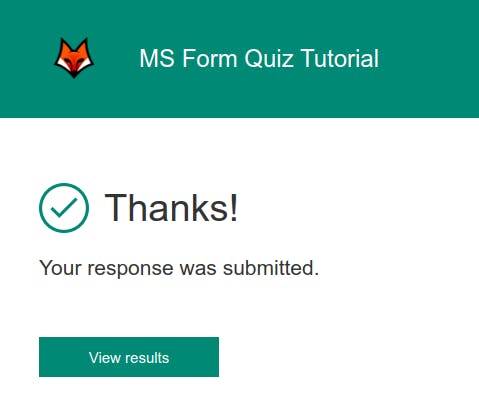
- Try to submit one quiz from the preview window and this is the message which you can customize it from the settings.
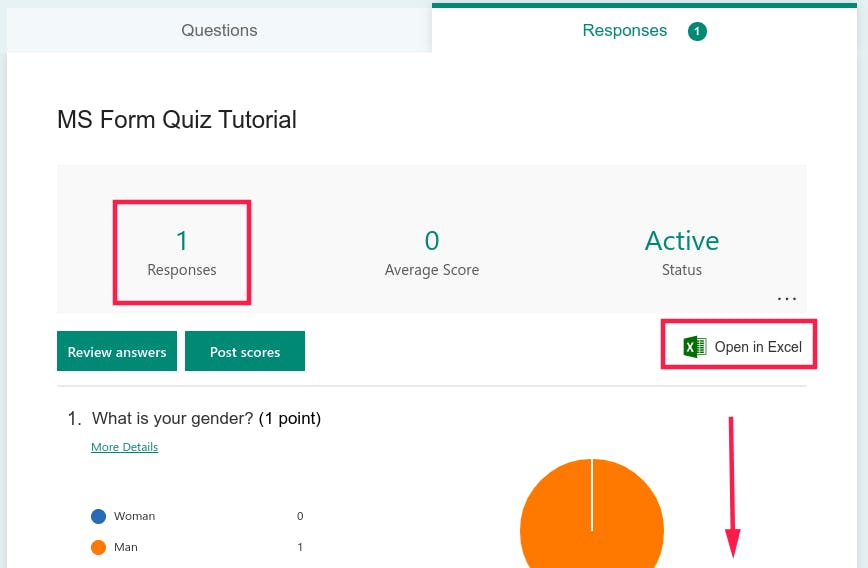
- You can look at the statistics and answers to the response from the responses tap. either in total or per responder.
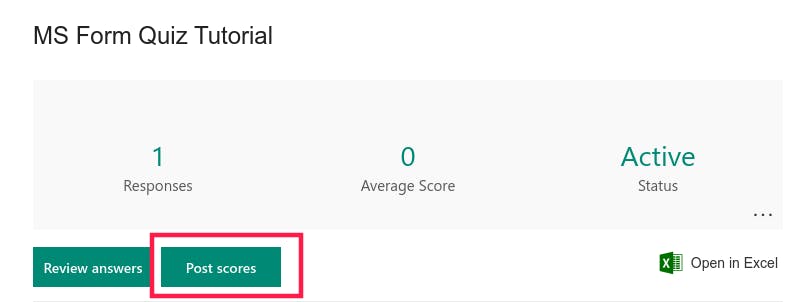
- For posting the final score you will have to go to post a score button
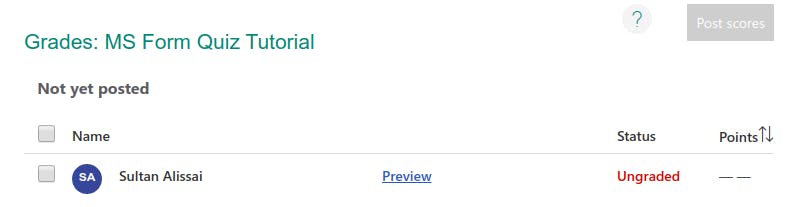
- Click on the status in red
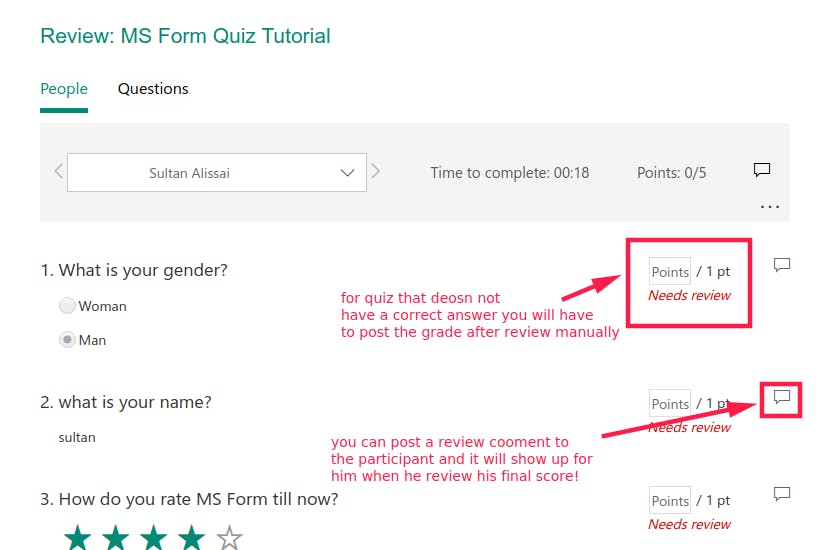
- Now you can review and set the final score for each quiz
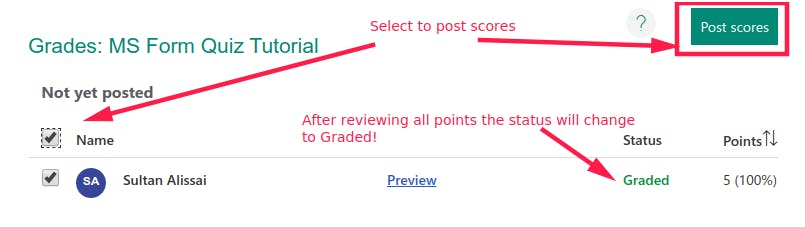
- Now you can approve and post the final score
Video Tutorials From Youtube:
- MS Forms Support .
 Thank you for your support!